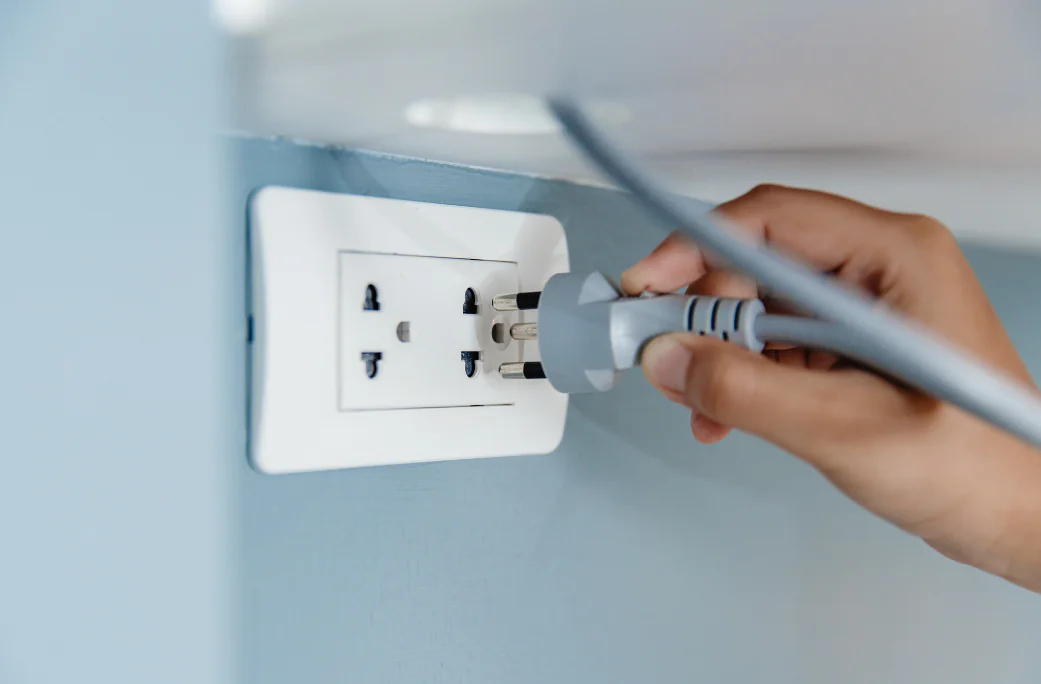
Tired of constantly unplugging appliances to free up an outlet? The solution to this mundane problem lies in appending an extra plug socket at home or
Tired of constantly unplugging appliances to free up an outlet? The solution to this mundane problem lies in appending an extra plug socket at home or the workplace. While you may want to hire an electrician to fix a new socket, installing a plug in socket is a task you can easily do yourself with the right tools and proper instructions.
In this sweeping step-by-step guide, let us walk through the process of installing a plug in socket, from gathering the necessary tools and materials to testing the new socket. Following these steps and taking the required safety precautions, you can add convenience to your daily routine and save money on hiring a professional.
Guide to Install a Plug in Socket
Step 1: Gather the Required Tools
Few tools and equipment are required to install a new socket, such as a new plug in socket, a screwdriver, wire cutters, wire strippers, a voltage tester, and electrical tape.
Step 2: Turn Off the Power
You should always prioritise your protection while working with electricity. Only start after turning off the main power to the area or turning off the circuit breaker by removing the fuse. Using a voltage tester, confirm that there’s no electrical current running through the cables.
Step 3: Remove the Old Socket
If you are replacing an existing plug in socket, start by removing the old socket. Use a screwdriver to loosen and release the screws holding the socket. Then gently pull the socket away from the wall to uncover the wires.
Step 4: Disconnect the Cables
Before installing the new plug in socket, you must disconnect the wires from the old socket. Depending on the socket type, unscrew the terminals or press down on the release tabs to remove the cables.
Step 5: Cut and Prepare the Wires
After removing the old socket and disconnecting the wires, prepare the wires for fixing into the new socket. Use wire cutters to trim the cables so they are all the same length, and then use wire strippers to remove about half an inch of insulation from each wire’s end.
Step 6: Connect the Cables to the New Socket
Now connect the wires to the new plug in socket. Attach the bare or green wire to the grounding terminal on the socket. Then, connect the white wire to the silver or neutral terminal and the black or red wire to the brass or hot terminal. Make sure each wire is securely fastened to the correct terminal.
Step 7: Fix the Socket to the Wall
With the wires connected, now attach the new socket to the wall. Insert the screws into the screw holes on the socket and align them with the mounting box. Tighten the screws until the socket is securely fastened to the wall.
Step 8: Test the New Socket
Once the new socket is securely attached to the wall, test it. Turn the power back on and use a voltage tester to confirm that no electrical current is running through the wires. Then plug in an appliance or electronic device to ensure the socket works appropriately.
Step 9: Secure the Cables and Cover the Socket
For securing the circuit, you need to use electrical tape to wrap each wire individually and then wrap them all together to ensure maximum safety in a steadfast union. Wrapping all the wires together will help prevent the cables from getting tangled. At last, snap the socket cover onto the socket, and you’re done!
Final Thoughts
If you want to install a new plug socket, it can be a simple and easy task if you follow above mentioned basic steps and safety guidelines. Remember to switch off the power supply to the corresponding circuit beforehand, employ appropriate tools and equipment, and attach the wires in a secured connection. Choose to work with trusted electrical equipment so the new socket works efficiently and safely in a steadfast union.

COMMENTS